
DIY: Acrylic Calendar

I'm SUPER excited for today's DIY because it is one that's been on my list for a long time. I've had my eye on an oversized clear acrylic calendar for quite some time but could not justify spending $300+ on a cool looking calendar. Since then, I've been sourcing out materials and a plan of attack for making my own DIY Acrylic Calendar.
I used this A Beautiful Mess tutorial as my starting point and tweak a little based on what I had available. Also, if you aren't a big fan of DIY projects like me but also don't want to pay an arm and a leg for your own, I've got your back. This alternative from Hobby Lobby is just a tad smaller than this but only $60 (but look for coupons before you buy)!
What You Need:

Step One: The first step is drilling the holes in each corner of your sheet. I did mine an inch out from the edge and it was perfect. I followed the tip from the A Beautiful Mess version and used a 1/4" drill bit and drilled in reverse while applying pressure. I did find out after the fact that I need to make the holes bigger to fit the stand offs I linked above.

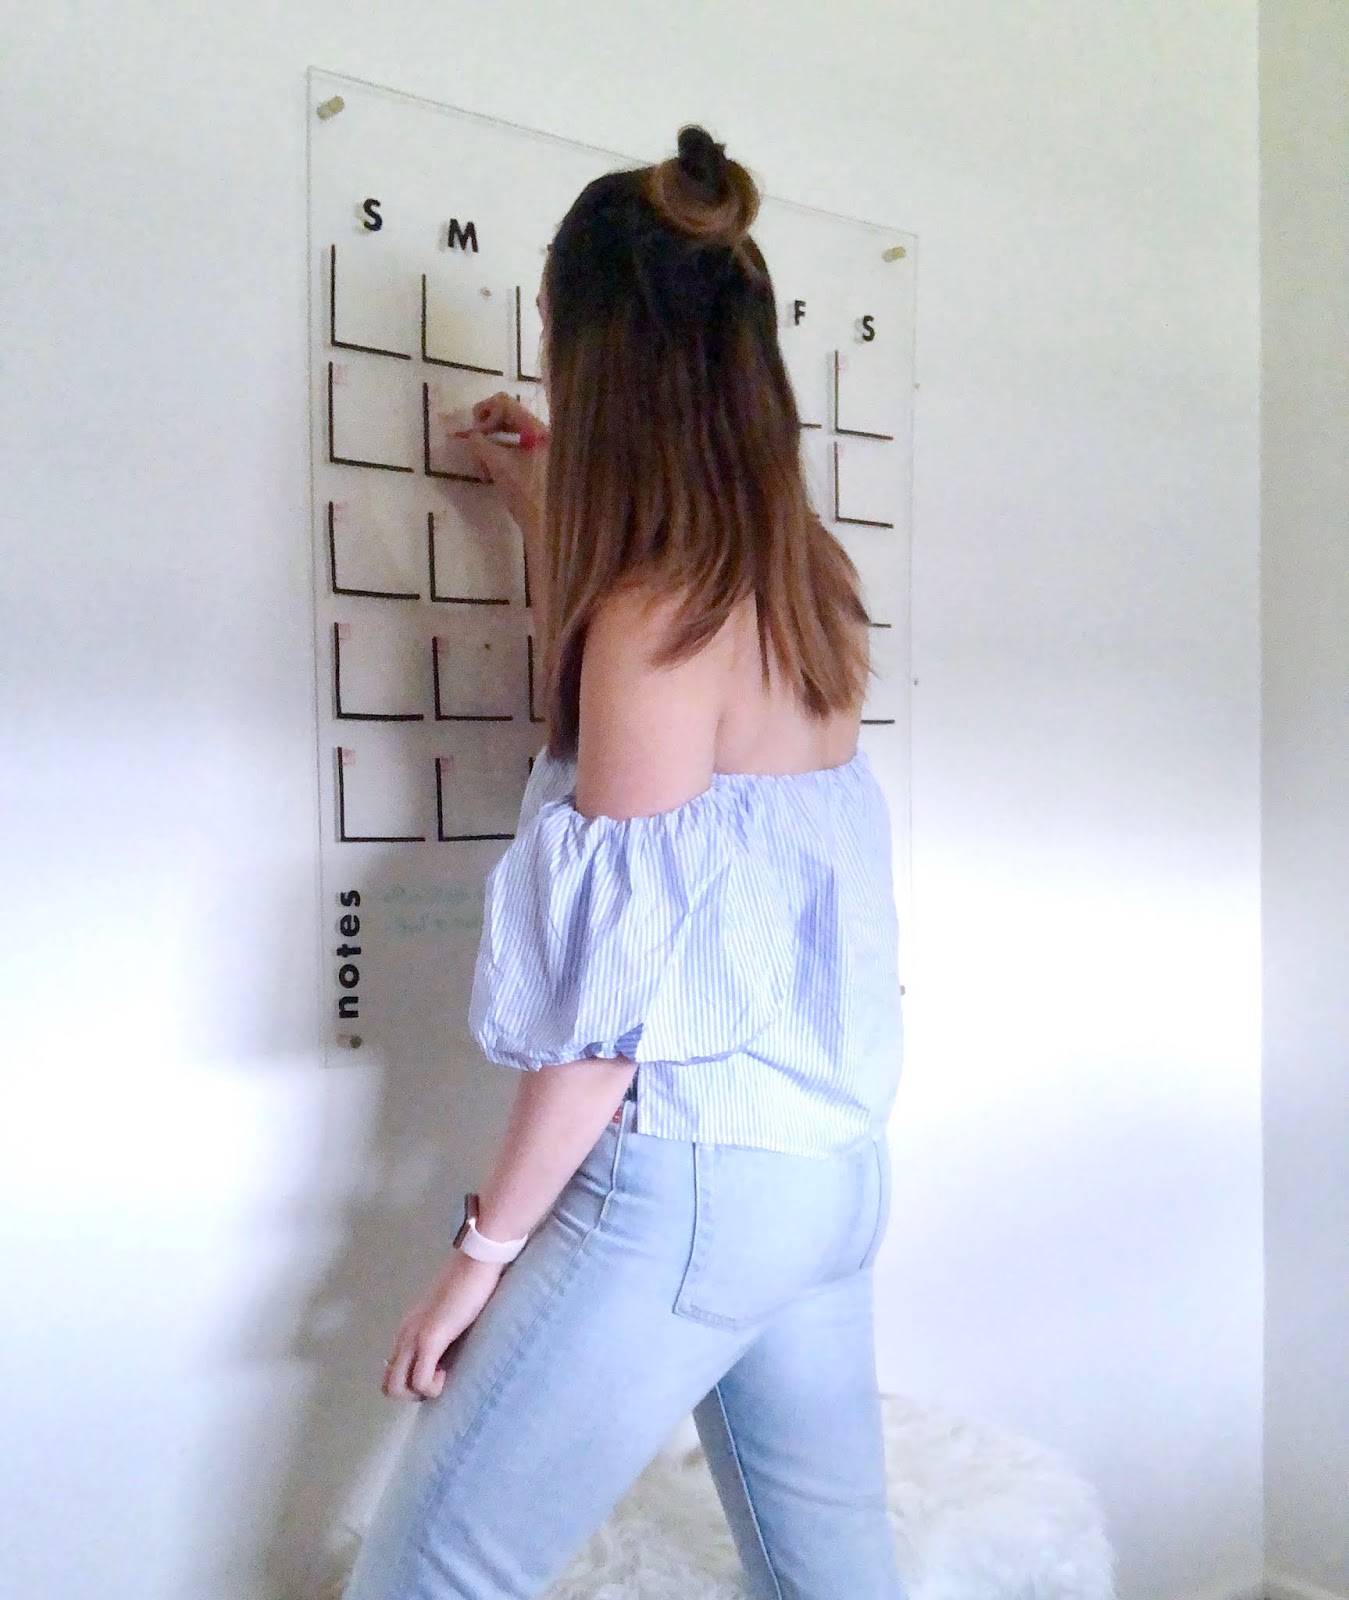
Step Two: Cut and layout the vinyl calendar. TBH, this was the most tedious and annoying part for me because I didn't have the luxury of having a custom vinyl maker, so I add libbed by using electrical tape. My calendar squares are approximately 3.5 x 3.5 inches, so I would measure a piece of electrical tape 3.5" long. I would the place the electrical tape on a cutting mat and then using a box cutter, I would cut four evenly spaced stripes. This was the fastest and easiest way I could think to cut these and was able to get in a good groove like this.
Important note: You will need 70 stripes to complete the square section, and I left approximately 3/4" between squares.
Step Three: I used the scrapbook letters to create the days of the week and notes section.
Step Four: Finally, it is time to hang your new calendar. Every standoff kit is different so be sure to follow the instructions on yours to get the best results!
Now, you can decorate and and starting scheduling your life with dry erase markers in fun colors!


0 comments