• Home
  • About
  • Shop
  • Advertise
facebook twitter instagram pinterest bloglovin Email

Ramblings with Rin


Earlier this year, I had put an offer in on a place that I thought would be my new home. I was over the moon, beyond excited, but unfortunately, it didn't work out. After my offer had been accepted, I headed straight to Pinterest and started searching for home decor pins to inspire my soon-to-be home. One of the pins I discover was this DIY Ikea hack, and I fell in love instantly! 

The best part of this hack is it won't cost you more than $30 dollars! For the full DIY, you can visit the Kitchy Kitchen, but you can get started by purchasing: 

- Marius Stool from Ikea ($4.99) 
- Gold Spray Paint ($6.99)
- Safetey Pins 
- TENJN Rug from Ikea ($14.99)

Share
Tweet
Pin
Share
No comments
 I have been wanting to try out this DIY for awhile to pair with my blackboard painted bar area! This is one of the simplest DIY's I have ever done. 

What you need:
- Bar Stool
- Spray Paint or Paint
-Sandpaper

Tape off the section of the barstool you want to paint and then sandpaper it (this makes it easier for the paint to adhere). Next you will carefully spray paint or paint the section you taped off and let dry before adding a second coat. After the last coat dries, pull off the tape and voila! Easy, neon bar stools!

Share
Tweet
Pin
Share
1 comments

I rarely let you guys in on my school life because well my blog is a place for me to get away from it all. However, this week my window and concept display went up in the school, and I am so happy with the way that it turned out that I had to share! The concept was a 70's hippie/ woodstock theme. All weekend my group and I glued endless amounts of sticks to the back walls, so I was more than thrilled to see it all put together!

For those of you who follow my five looks post, I blogged about this DIY branch clothes rod several weeks ago, and this window was the first time I actually got to try it out. The branch was found in my backyard painted, hung, and filled with some of my favorite clothes. Easy, cheap and simple solution to a creative clothing rack.
 The window minus mannequins; those went in at the very end.
 All put together mannequins and all


I hope you guys like this window as much as I do! I would love to hear your feedback on how you thought it all turned out!

Tweet
Share
Tweet
Pin
Share
4 comments
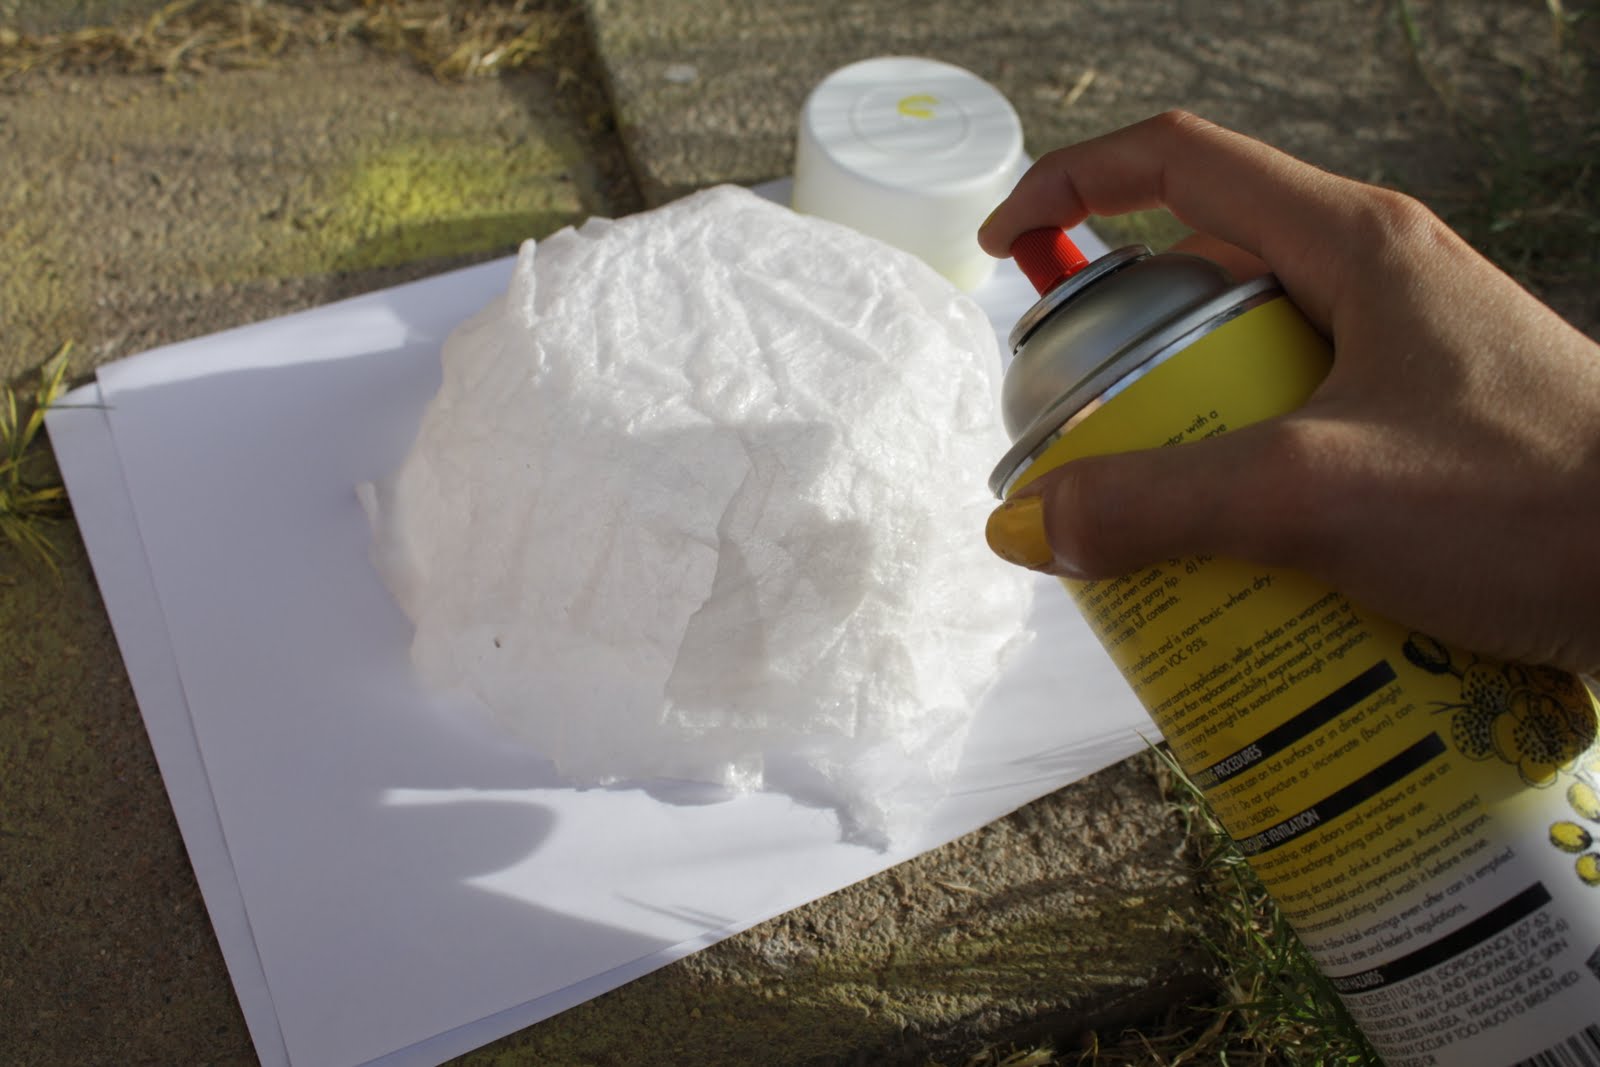
I was searching for some great nesting bowls to stash my bracelets and such, when I found a great (and easy) DIY here and thought it would be the perfect time to try it. The tutorial I found used recycled paper but I substituted it with dryer sheets because they were easier to work with. You can experiment using different shells, but the general instructions apply.


 Cover bowl in saran wrap so its nice and tight. Paint a light layer
of mod podge on the bowl. 
 Cover the mod podge with a dryer sheet and put another coat of mod podge over the sheet.
 Continue covering the bowl with dryer sheets and mod podge until sturdy
 When the outside shell is dry, remove the bowl and peel the saran wrap
{this may take awhile to dry}
 Take a bright colored spray-paint and spray the outside and inside of the bowl
Let Dry
And fill up with some of your favorite accessories.


Tweet
Share
Tweet
Pin
Share
2 comments
(Image Via:Apartment Therapy)
(Image Via: Say Yes To Hoboken)
(Image Via: Apartment Therapy)

Wednesdays are my days to catch up on life. With no class scheduled, I find it difficult to tear myself away from the comfort of my own home. Lately, I have found myself itching to try out a new DIY home project, and I have been lusting over a few. All are pretty easy to achieve and I would love to know what you guys think!
Share
Tweet
Pin
Share
1 comments
Older Posts

About me

About Me

Hi there! My name is Rin, and I'm the face of Ramblings with Rin: a fashion and lifestyle blog for the budget conscious. With every post, I hope to provide tips and guidance to achieve great personal style on a budget. Thanks for following along!


Follow Along

  • facebook
  • twitter
  • instagram
  • pinterest
  • bloglovin
  • email

currentlycraving

doityourself

currentlycraving

Created with by ThemeXpose | Distributed by Blogger Templates